Step 1
Design electronics to meet the needs of the project. This usually includes a small custom computer supporting LED luminance, push-buttons, power circuits and so on.
Here I provide a short explanation of how my ideas turn into reality. This involves designing small computers, writing firmware, assembling electronics, designing ... well, keep reading -
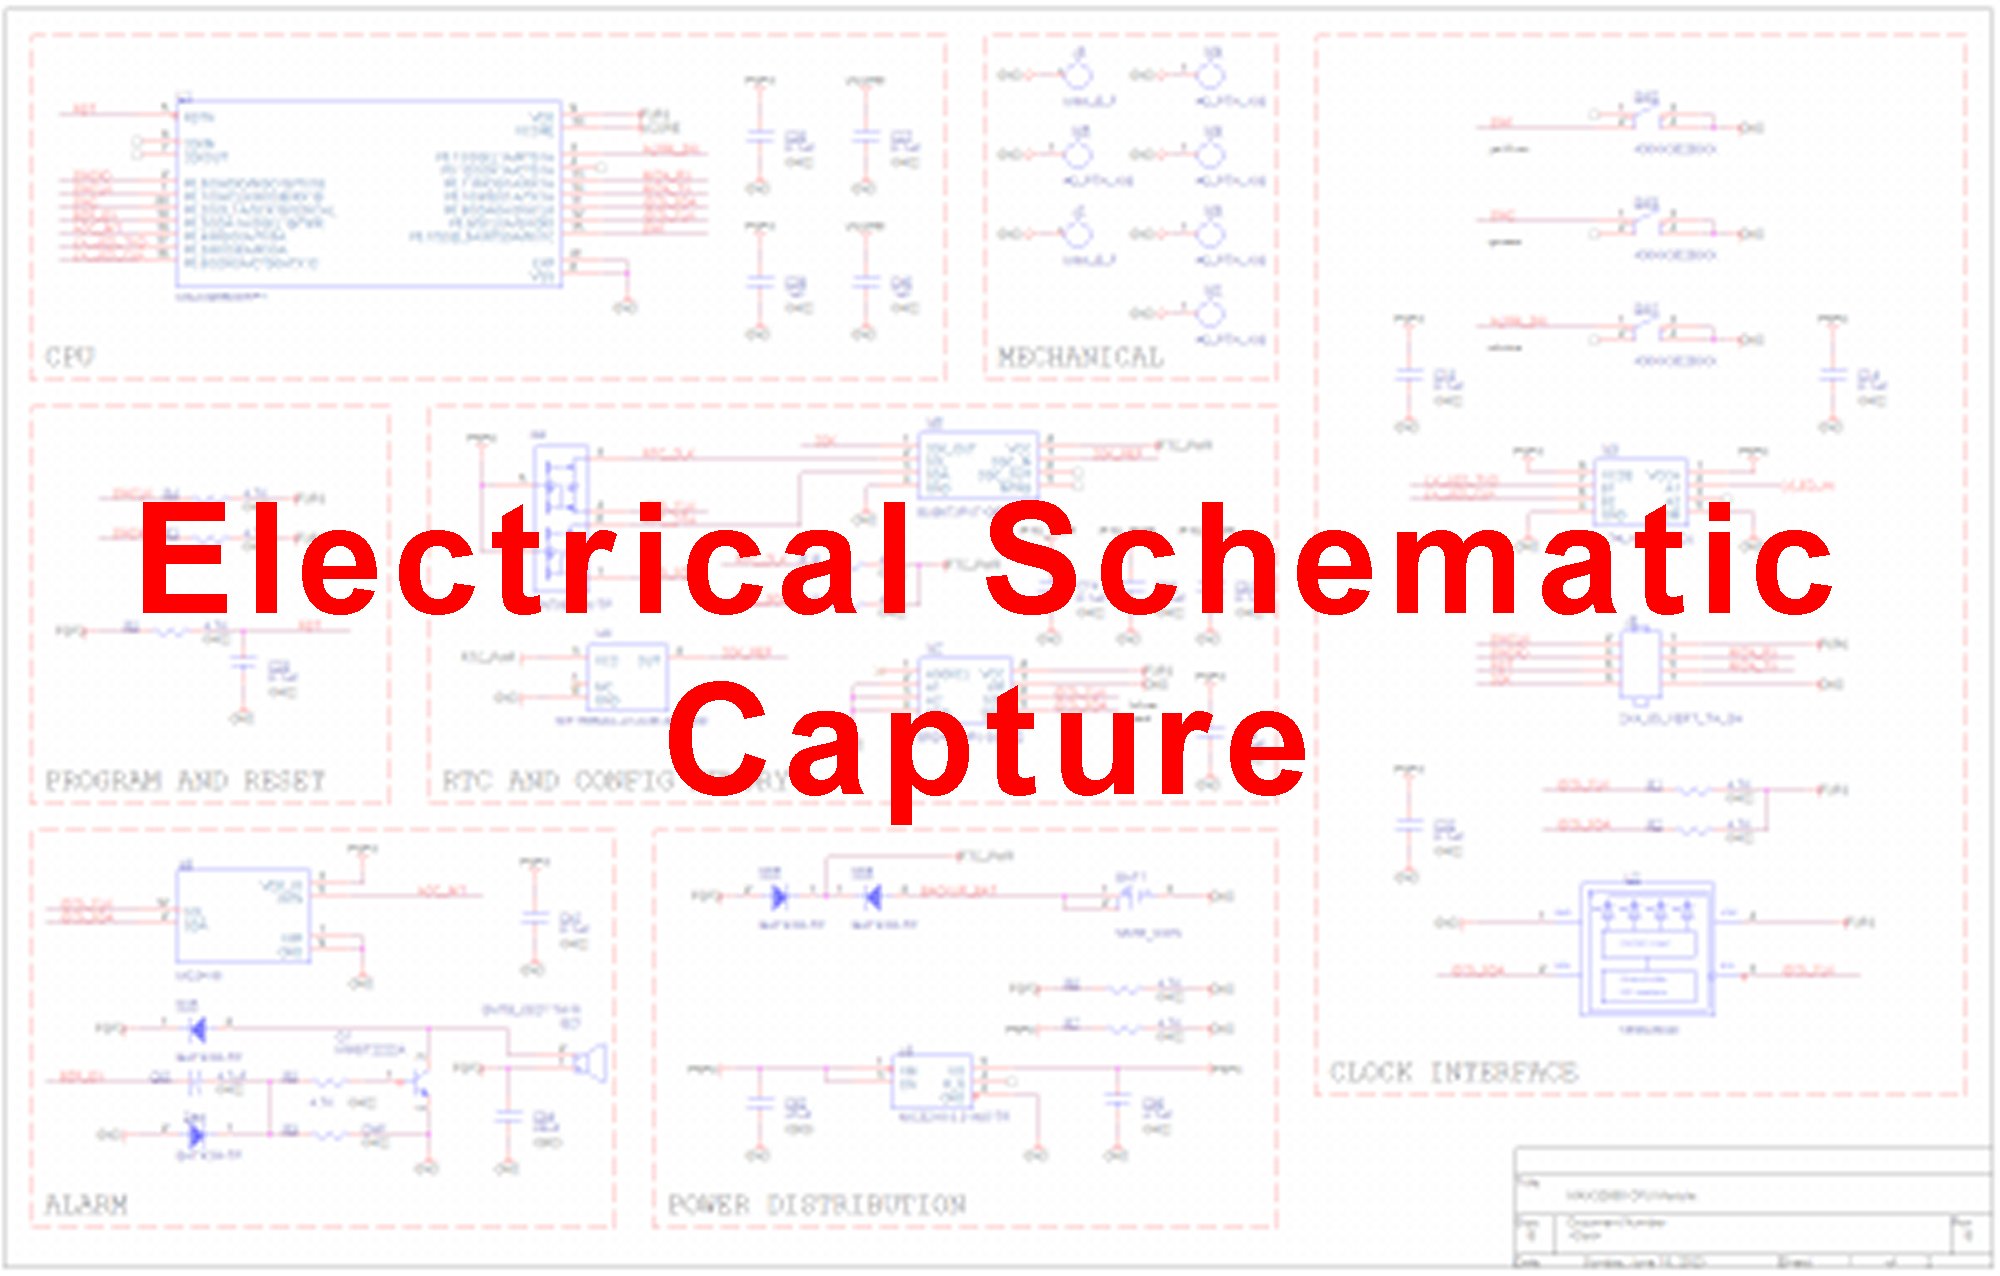
Design electronics to meet the needs of the project. This usually includes a small custom computer supporting LED luminance, push-buttons, power circuits and so on.
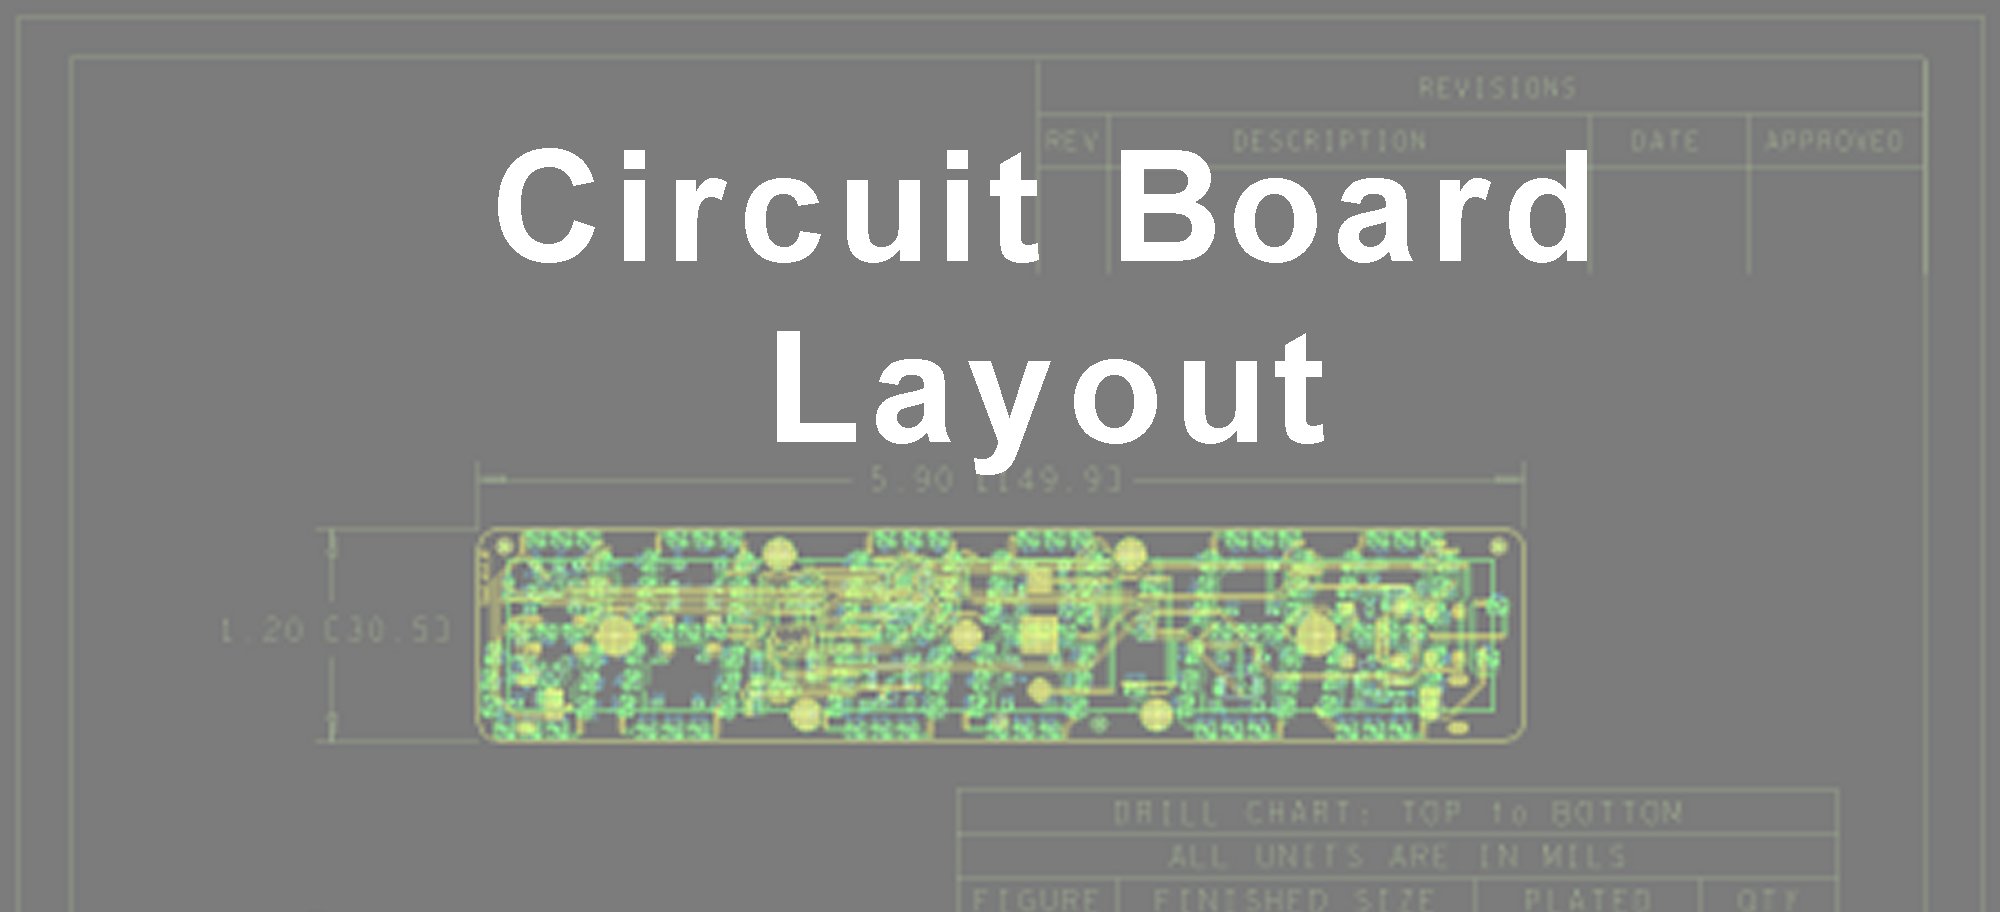
Design the printed circuit board layout for interconnecting electronic parts. Sometimes I make these boards using a combination of a CNC mill and copper etching. I will have them made outside my shop if time allows.
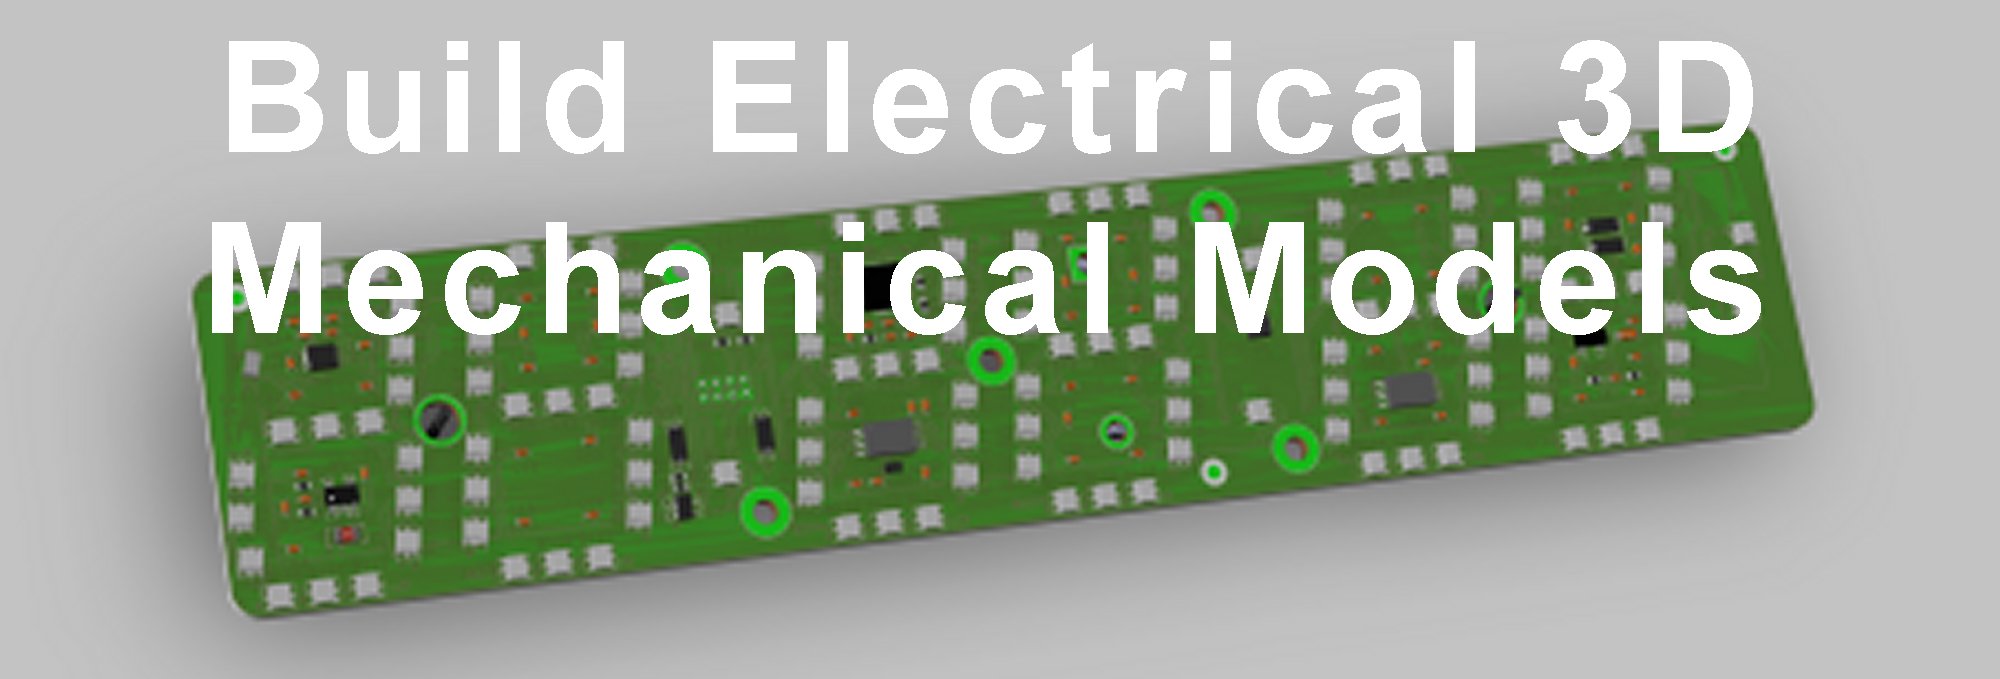
Create 3D mechanical models of all internal electronics. Computer models of the internal parts allow modeling of the entire assembly before physically building anything.

Create mechanical models of all enclosure parts. This includes all internal mounting features and virtual fit-checks.
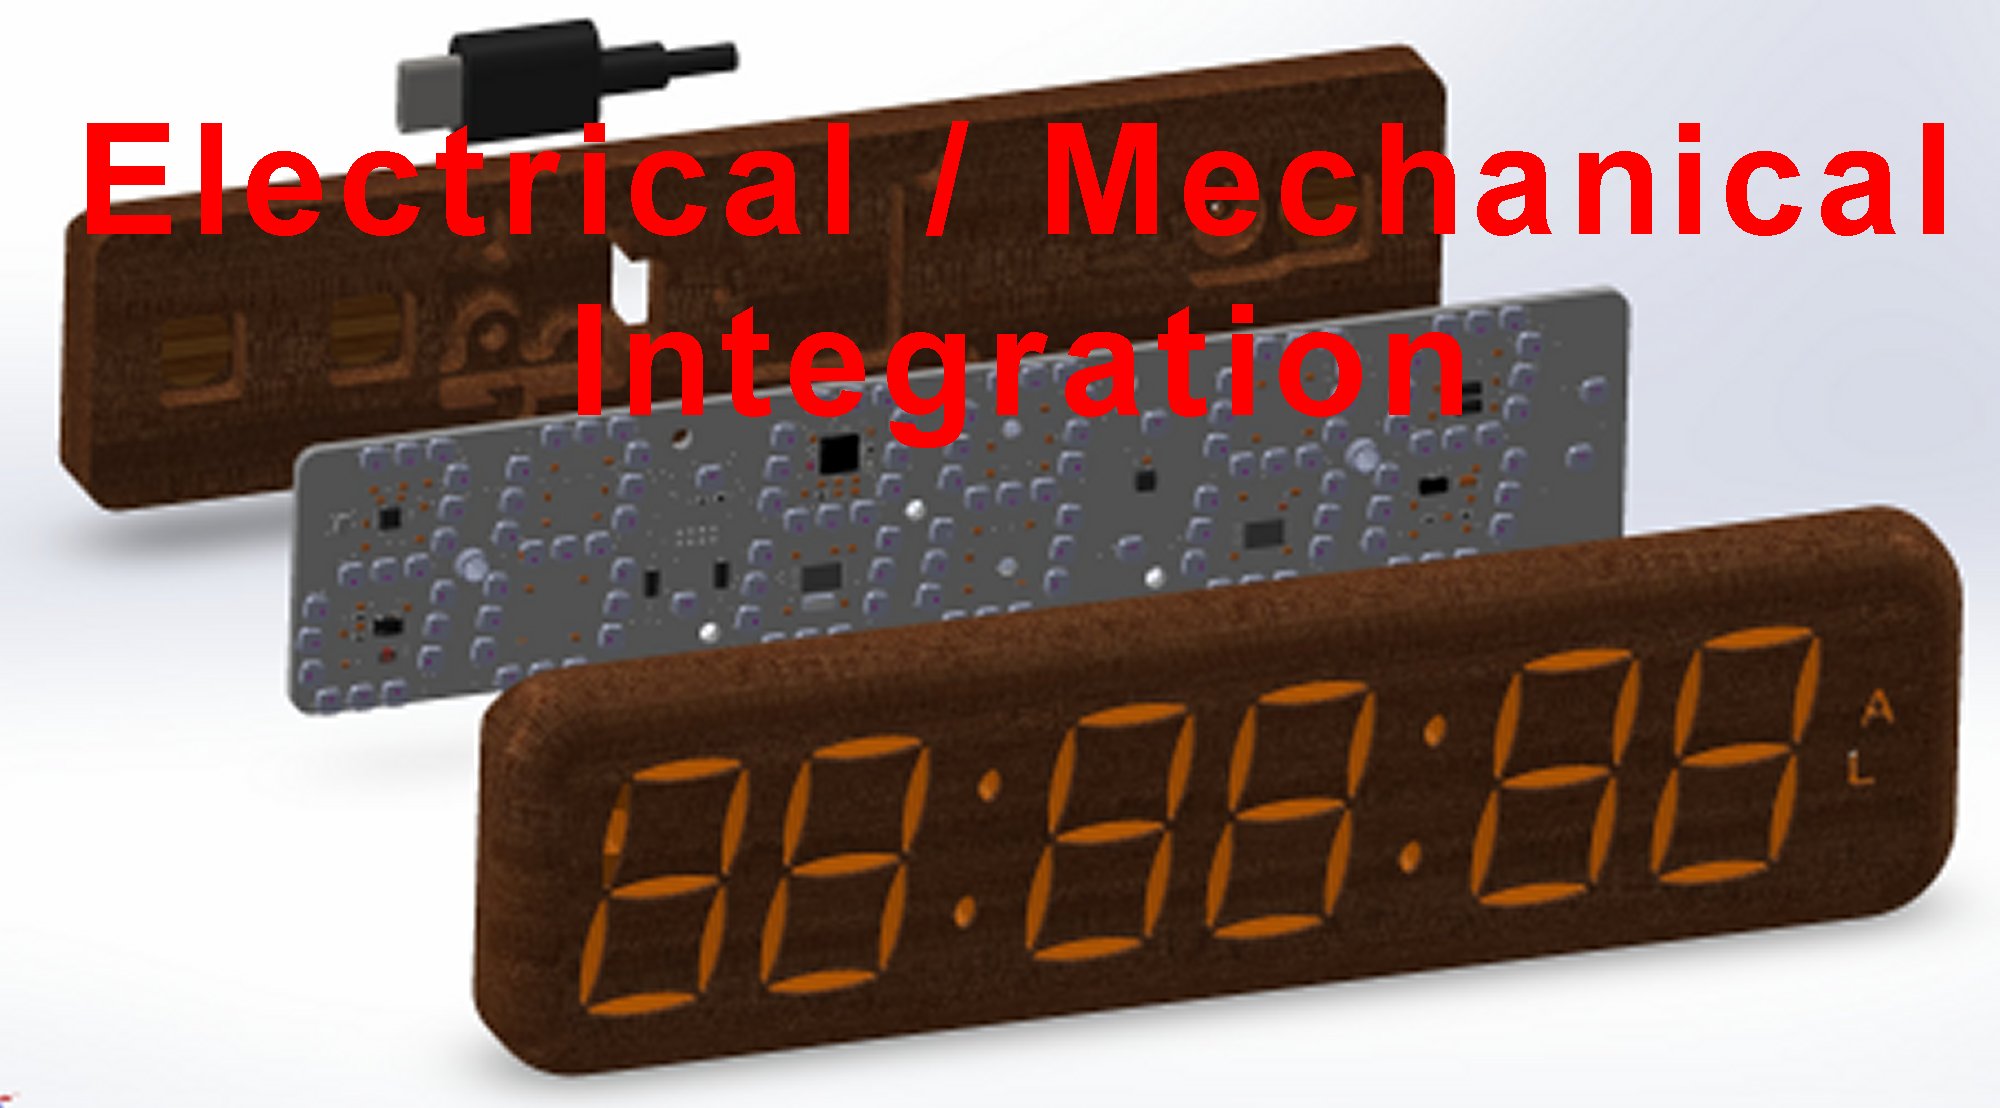
Integrate all computer models into a final virtual assembly. This includes checks for potential machining and production problems.
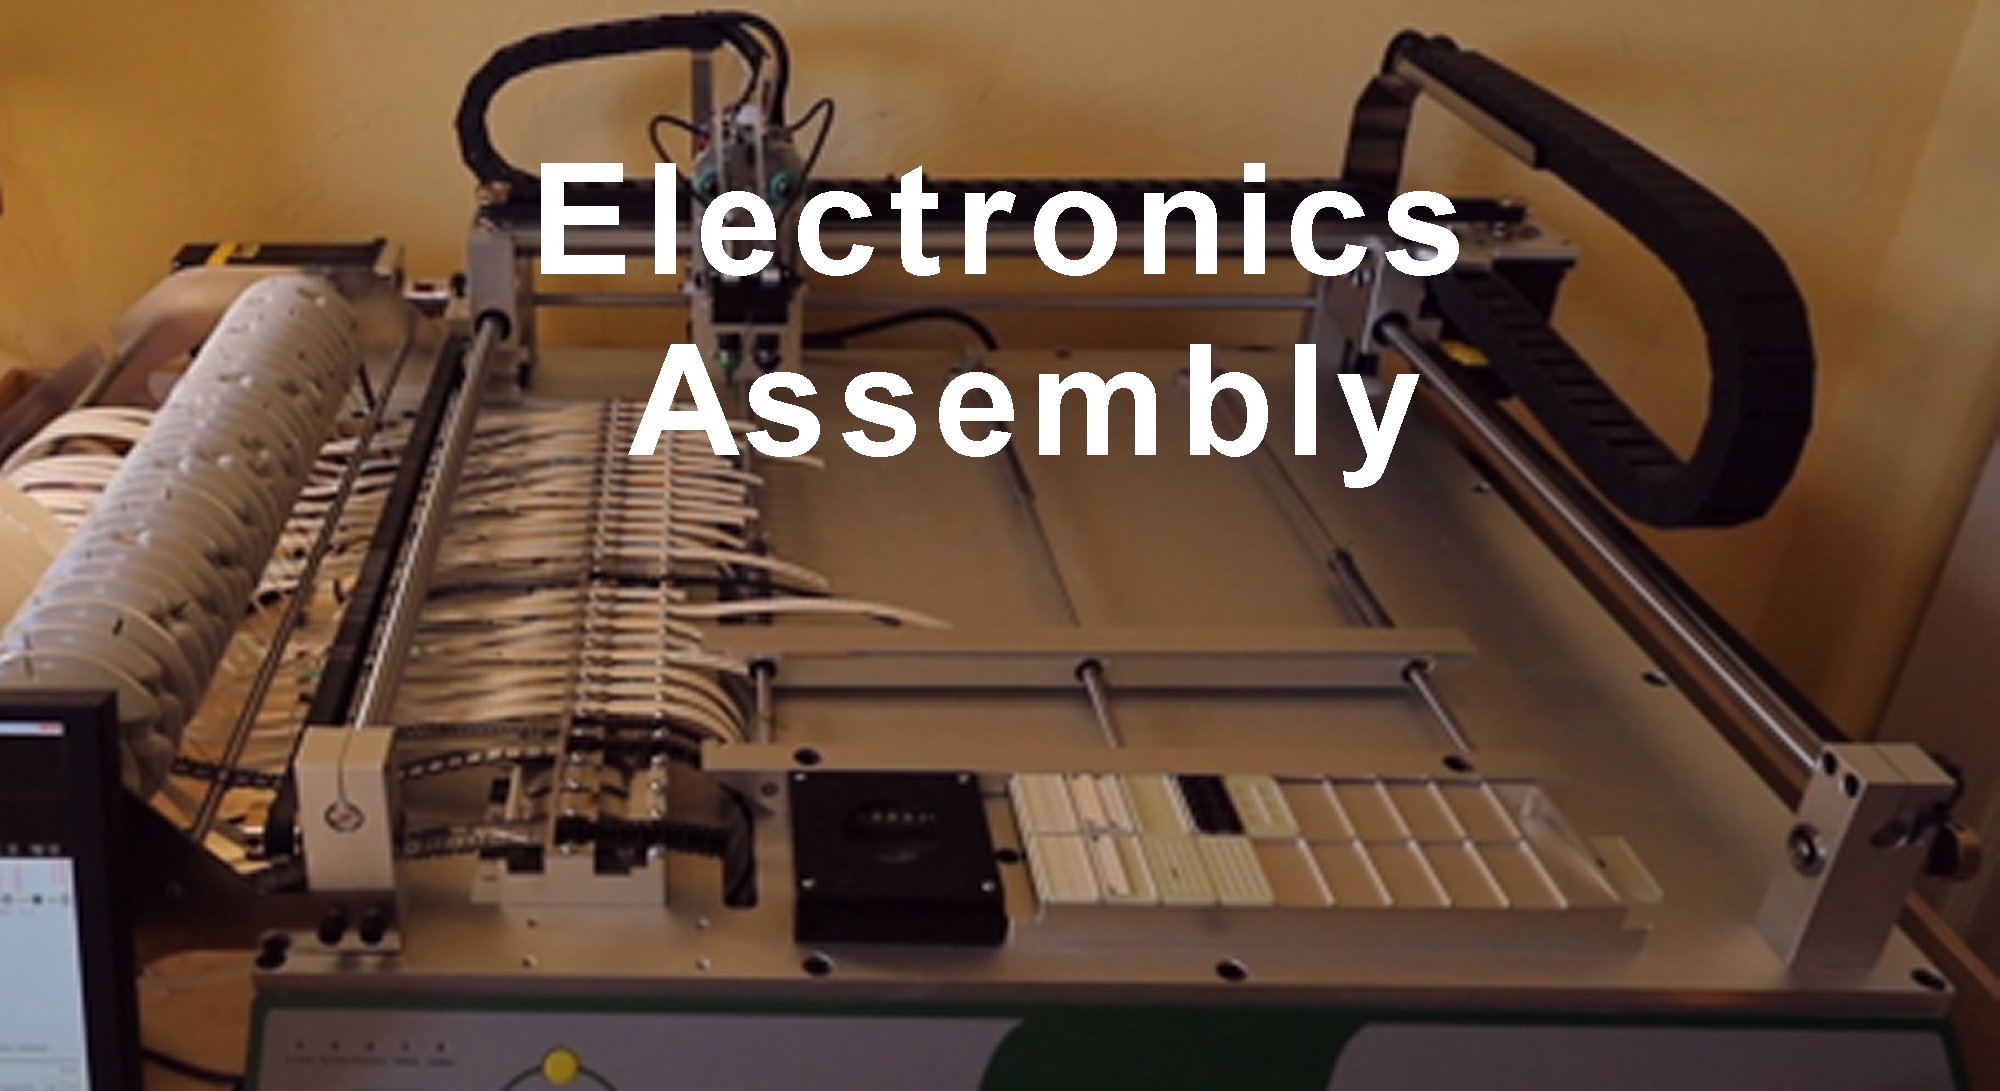
Assemble electronic circuit boards. Sometimes I build electronics by hand under a microscope. Building many pieces needs a more automated approach. Many parts are very small, some as small as a grain of sand.
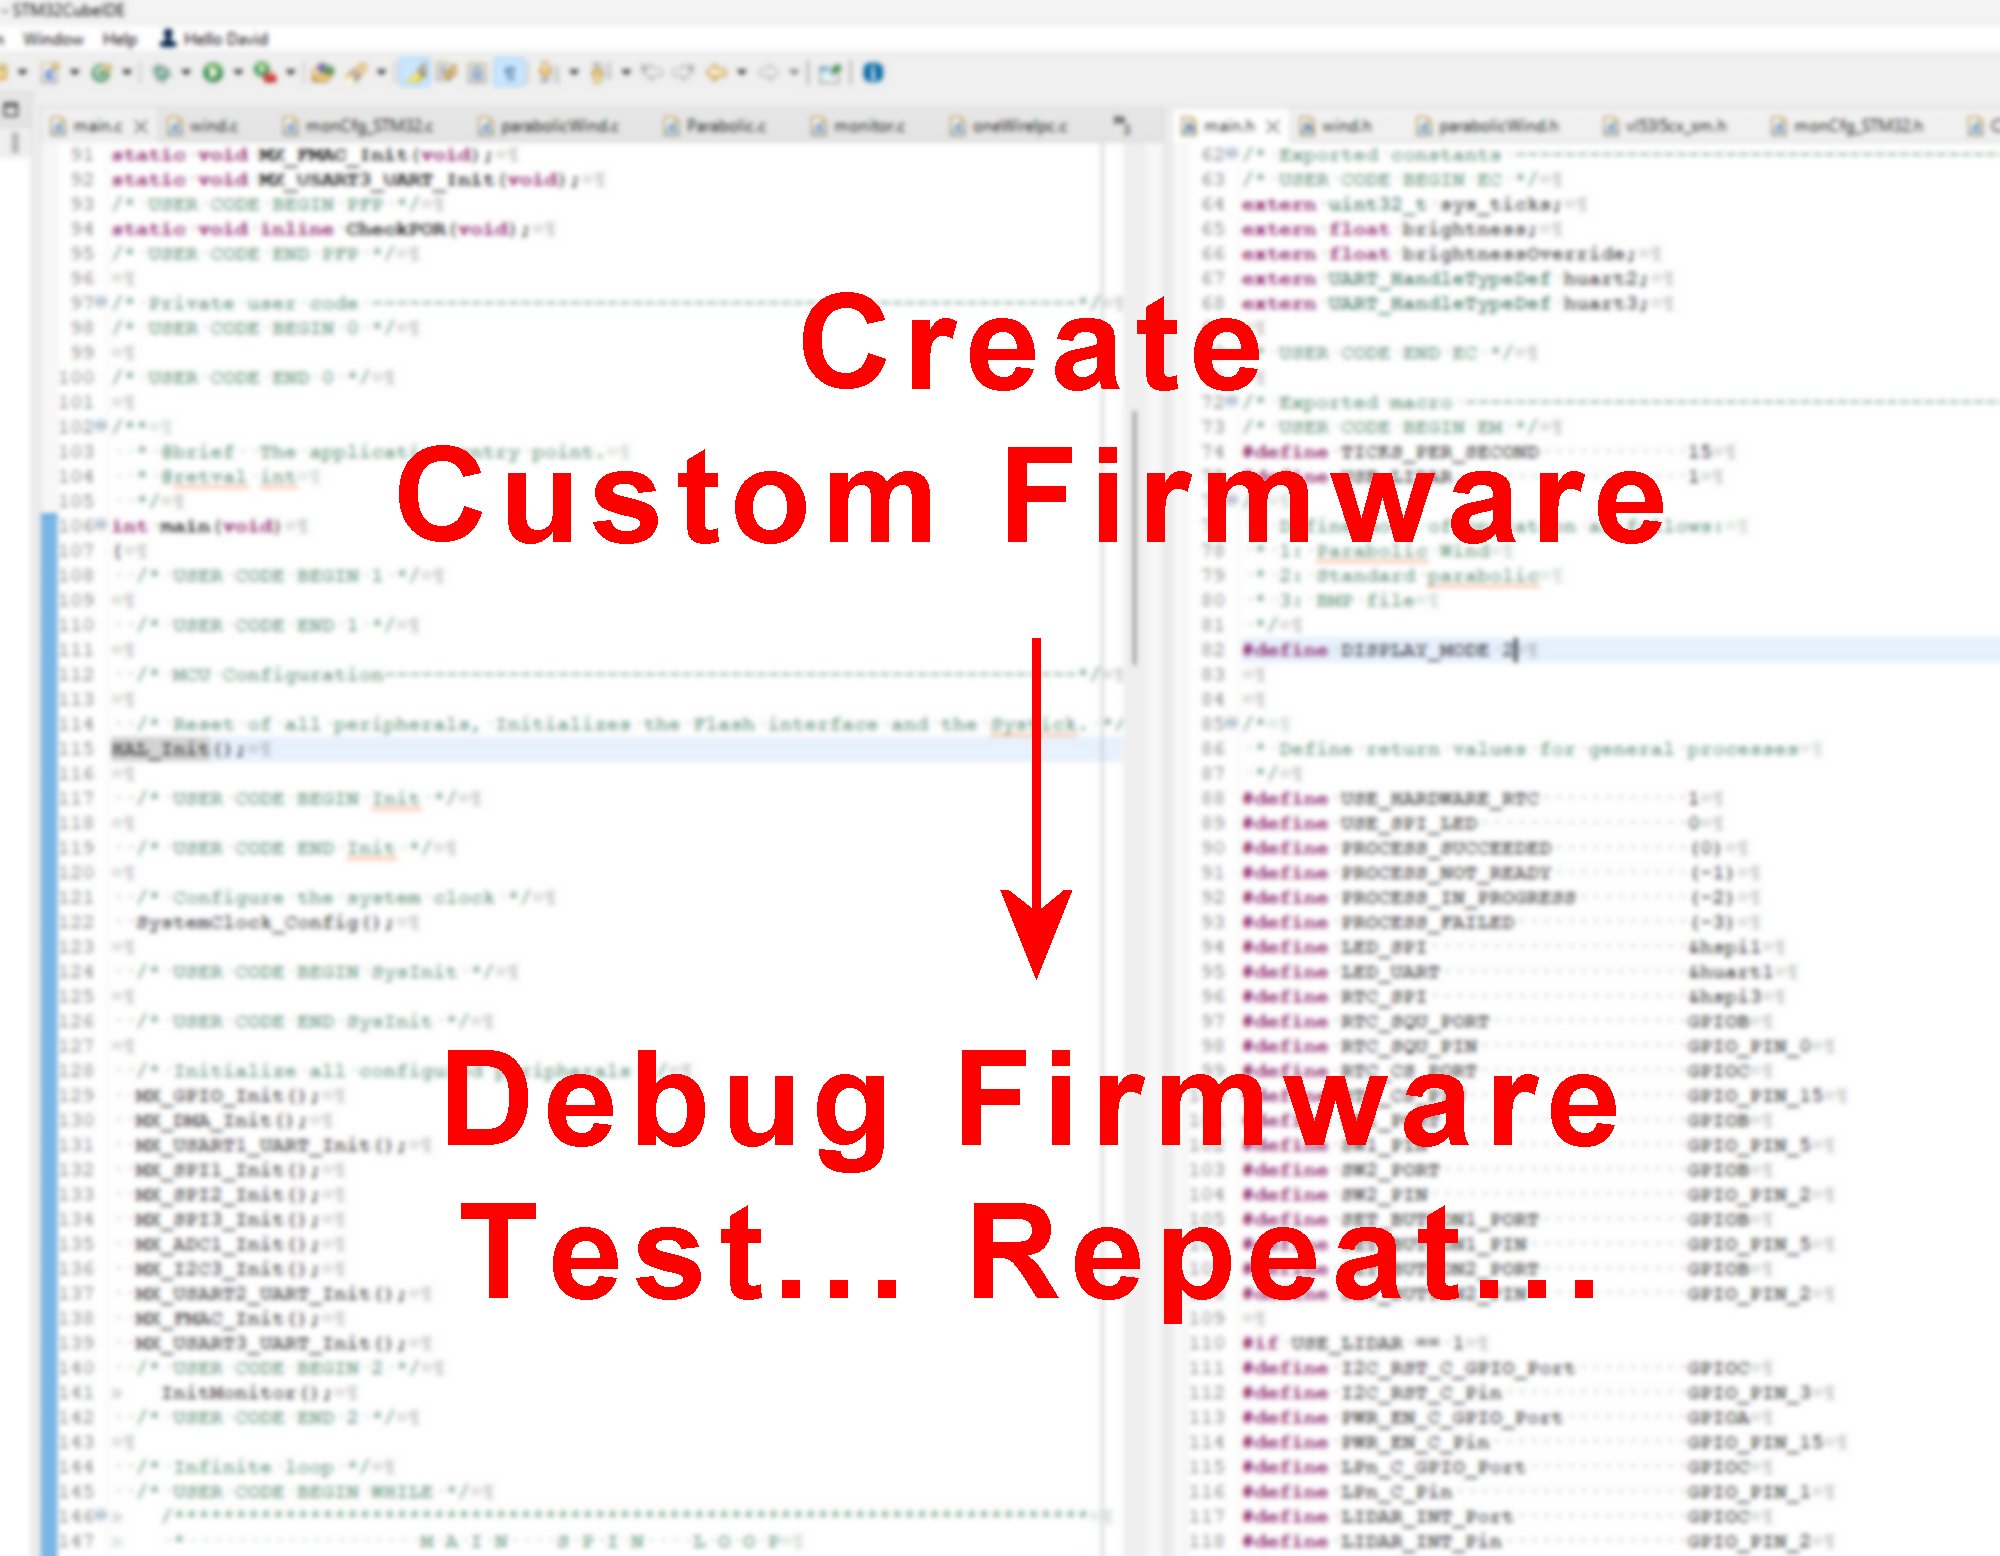
Write firmware. Programming the internal computer needs custom computer code because of the unique nature of each project. Coding uses a "bare-metal" approach directly accessing registers inside the computer core. Coding is a lengthy process sometimes needing hundreds of hours to complete. I enjoy this step because this is where the project comes alive. Most of the project design work is completed when the firmware is finished and archived.